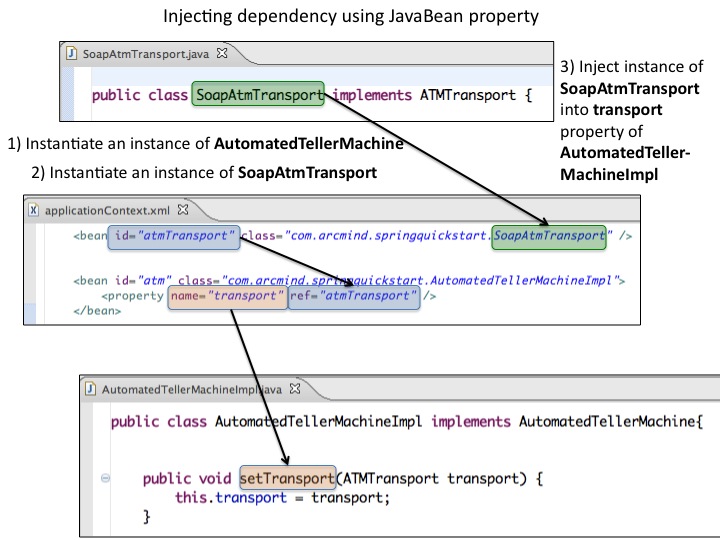
We have already seen that how to inject property with the Setter
Injection in the last blog, now let's go through with the constructor
injection.
Configuring bean to initialize with an argument for the constructor and
then assign the arguments, Spring essentially “injects” the argument into your
bean. This is referred to as constructor injection.
In the constructor Injection an objects gets all its dependencies via
constructor.
The most important benefits of Constructor Injection are:
- It makes a strong dependency
contract
- It makes testing easy, since
dependencies can be passed in as Mock Objects
- It's very succinct in terms
of lines of code
- A dependency may be made
immutable by making the dependency reference final

Constructor-based DI is accomplished when the container invokes a class
constructor with a number of arguments, each representing a dependency on other
class.
Let's understand with an example.
Let's create a project say "SpringTutorial" now add the
required jar support to spring, to add the jar you can follow the Spring Tutorial 02 -My First 'Hello World' Program in Spring blog.
Now create a package with the name of
"org.javaIsEasy.springConstructorInjectionExample".
Now create a java file with the name of "Rectangle.java" in
this package.
The Rectangle bean class has two attributes. All the two attributes are
set through constructor injection.
Rectangle.java
*******************************************************************************
package org.javaIsEasy.springConstructorInjectionExample;
public class Rectangle {
private int length;
private int width;
Rectangle(int length, int width)
{
this.length=length;
this.width=width;
}
public int getLength() {
return length;
}
public int getWidth() {
return width;
}
}
*******************************************************************************
Create an other java file in the same package with the name of
"Area.java".
In the Area file we will creating object of the Rectangle class and
another parameter with the name of 'areaType', we will give the reference of
the Rectangle class in this Area class. So let's see how it goes.
Area.java
*******************************************************************************
package org.javaIsEasy.springConstructorInjectionExample;
public class Area {
private String areaType;
private Rectangle rectangle;
public String getAreaType() {
return areaType;
}
public void setAreaType(String
areaType) {
this.areaType = areaType;
}
public Rectangle getRectangle() {
return rectangle;
}
public void
setRectangle(Rectangle rectangle) {
this.rectangle = rectangle;
}
}
*******************************************************************************
Now create another java file with the name of
"CallAreaApplication.java" in the same package.
This is the class while having the main method, configuration file will
be loaded in this class and let's see how bean is called here.
CallAreaApplication.java
*******************************************************************************
package org.javaIsEasy.springConstructorInjectionExample;
import org.springframework.context.ApplicationContext;
import
org.springframework.context.support.ClassPathXmlApplicationContext;
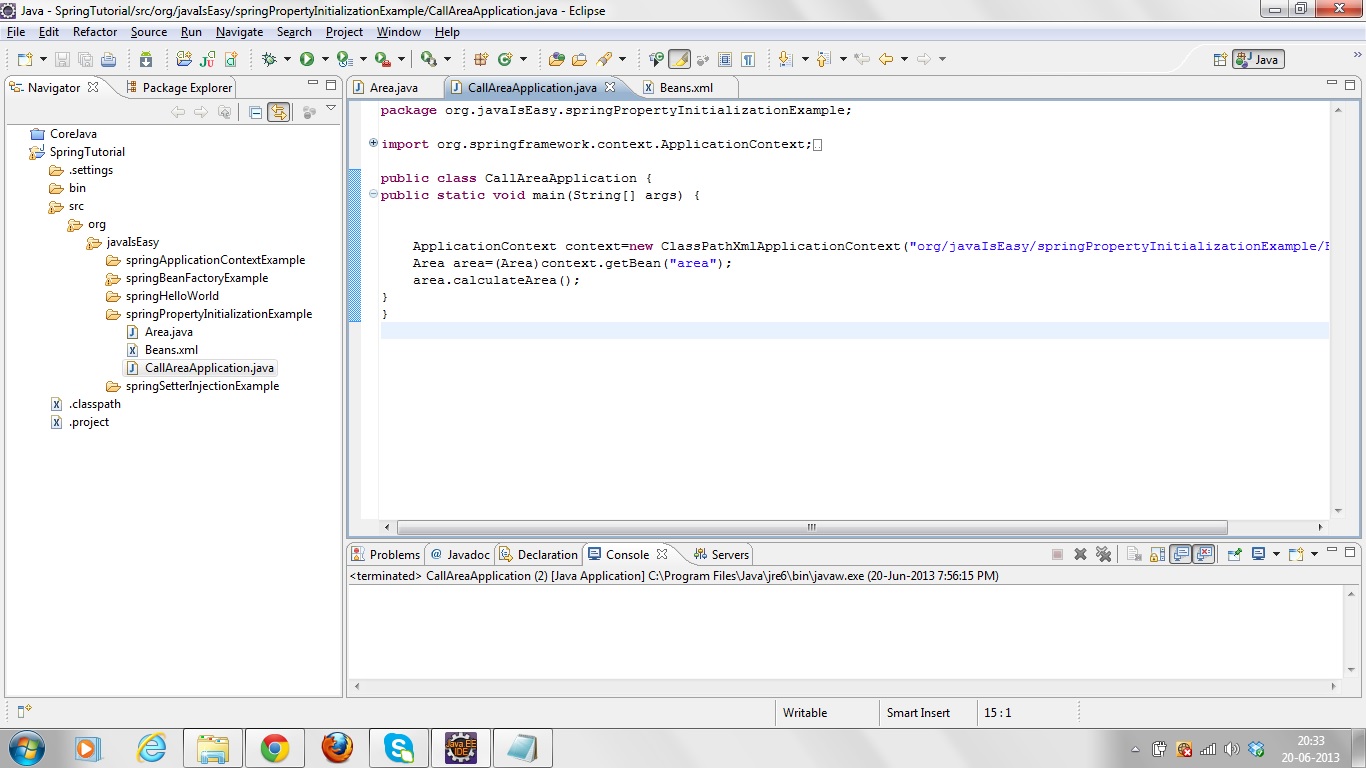
public class CallAreaApplication {
public static void main(String[] args) {
ApplicationContext context = new
ClassPathXmlApplicationContext("org/javaIsEasy/springConstructorInjectionExample/Beans.xml");
Area
area=(Area)context.getBean("AreaBean");
int
length=area.getRectangle().getLength();
int
width=area.getRectangle().getWidth();
String
areaType=area.getAreaType();
System.out.println("Area
Name : "+areaType+"\nLength : "+length+"\nWidth :
"+width+"\nArea Value : "+length*width);
}
}
*******************************************************************************
Now we have create bean configuration file with the name of
"Beans.xml" in the same package.
Here the Beans.xml file is used to do spring bean configuration. The
following code shows how to set a property value through constructor injection.
Beans.xml
*******************************************************************************
<?xml version="1.0" encoding="UTF-8"?>
<beans xmlns="http://www.springframework.org/schema/beans"
xmlns:xsi="http://www.w3.org/2001/XMLSchema-instance"
xsi:schemaLocation="http://www.springframework.org/schema/beans
http://www.springframework.org/schema/beans/spring-beans-3.0.xsd">
<bean id="AreaBean"
class="org.javaIsEasy.springConstructorInjectionExample.Area">
<property name="areaType"
value="Rectangle"/>
<property name="rectangle"
ref="RectangleBean"/>
</bean>
<bean
id="RectangleBean"
class="org.javaIsEasy.springConstructorInjectionExample.Rectangle">
<constructor-arg name="length"
value="6"/>
<constructor-arg name="width"
value="4"/>
</bean>
</beans>
*******************************************************************************
Structure of the project :

Lets run this program to get the result:
Output:
*******************************************************************************
Area Name : Rectangle
Length : 6
Width : 4
Area Value : 24
*******************************************************************************


