You need to follow these steps to set up an HVR Hub with a MySQL database on an Azure VM.
Database, Agane, source, and destination details can be found in the previous blogs
Step 1: Create a VM on Azure
Ensure you have an Azure VM running Windows with administrative access.
Step 2: Install HVR HUB on VM
Download the
HVR setup exe file

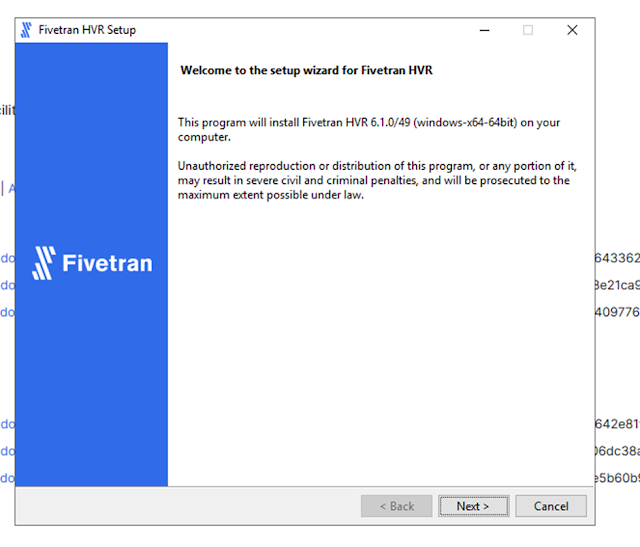
Install the HVR
HUB on the Windows VM.

Click next
and choose HVR hub this time.

Click "Next." The default port is 4340 for HTTP. If you want to use a certificate and run on HTTPS, the port will be 4341.

Click Next
and choose “Local System Account”.

Click on
the Check Box and Click Next to install the HVR Hub

Click "Finish" once everything is properly configured.

Open the inbound port on the VM to allow the HVR HUB to run on the browser.

Select "Inbound rules" and click on "Port."

Open ports 80 and 4340 for HTTP, and ports 443 and 4341 for HTTPS.

Give the name of the port config

Try opening the HVR hub using the VM's IP address on port 4341. If you see the screen below, then everything is set up correctly.

Step 3: Install HVR Repository
I have chosen the MySQL server for the HVR repository. HVR also supports other databases, so feel free to select any other supported database based on your preference.
I am creating a MySQL server on the Azure cloud.

Make sure to allow the port and IP address to access this MySQL server from your machine or any other location where you intend to manage this HVR repository.
I have installed MySQL Workbench to test the data.

Step 4: Connect HVR HUB to the MYSQL Repository
Open the HVR hub in your browser and select MySQL as the HVR repository server as described below.
Enter the username, hostname, port, and password, and attempt to establish the connection.

If you get the above error then go to Azure Portal and change the
“require_secure_transport” setting from OFF to ON.

Save the setting.

Now try
connecting that again, you should be able to connect it successfully.

Upload the
License:
You need a valid license to use HVR. Once you have the license, simply upload it as instructed below.

Verify the license and finish the setup. You'll need to provide the HVR HUB username and password to log in from the browse.

After completing the setup, you should be able to view multiple tables created by the HVR HUB. These tables should be managed exclusively through the HVR HUB UI.

If you see the screen below, you are ready to proceed with creating locations.