We have already covered basics of Mule ESB in our previous
blogs. Now this is the time to create a very basic "Hello World" program and get to know it practically.
To start with Mule soft ESB, you need to have below thing in
your system.
- JDK 1.7
- Anypoint Studio (if not then download from here)
Step 1: Open
Anypoint Studio in your system

Step 2: Go to “File”
menu then go to “New” and then click “Mule Project”

Step 3: Below screen
will be opened and give “Hello World”
name to your project.

Step 4: Click “Next” button. It will open below screen,
which will show you the location of the project & JRE used.

Step 5: Click on
the “Finish” button. Below screen
will be opened in which you can see Palette,
canvas, project files etc. Screen is very similar to eclipse IDE but you can
see graphical canvas screen also over here.

Step 6: Below highlighted
part in the screen called “Palette”
which provides the inbuilt functional graphical components which can be dragged
to canvas to create your programming logic. However you can write it XML code
but by using Palette you can design your code very easily. All you need to drag
to canvas the functionality you want.

Step 7: I am
using HTTP component to start with Hello World program. You can find it in
Palette or just write in the search box it will appear and drag it to your
canvas screen.

Step 8: Once you
drag it to your screen it will look like below image, in a same way drag one
more component called “setPayload”.

Step 9: Select on
the “HTTP” and click on “Message Flow”, you can see the below
screen. Click on the highlighted Red Square to make your connector
configuration.

Step 10: Below
screen will pop up which has Port, Host Name and generic Name in it (Which is
already filled).

Step 11: Click on
the “OK” button.

Step 12: Now select
“SetPayload” and click on the “Message Flow”. Define the value “Hello World” as highlighted.

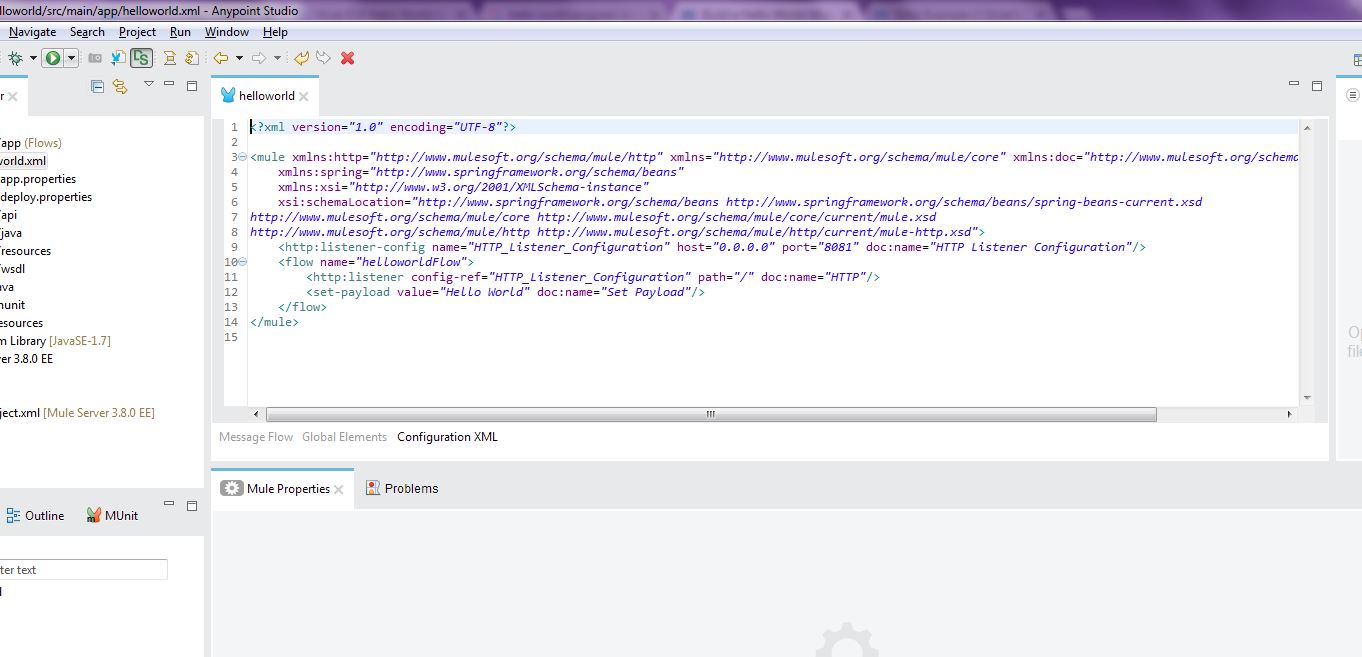
Step 13: You can
see the code by clicking the “Configuration XML” tab.
Step 14: You are all set to go! Right click on the
canvas and run project as “Hello World”.
If everything goes fine in the console log then you can see the output in
browser.

Step 15: Open
your favorite browser and hit “http://localhost:8081”
URL as shown below, you will be able to see the output of your first Mule ESB
program!

Thank you for useful blog information.Thanks for posting.Keep blogging
ReplyDeleteMulesoft Online Training
Mulesoft Training in Hyderabad
ReplyDeleteThank you for sharing wonderful information with us to get some idea about that content.
Mulesoft Training in Hyderabad
Mulesoft Online Training