Creating portlets with liferay plugin SDK is very simple. For creating a portlet we need to
have..
Here we are using below enviornment.
1) liferay-plugins-sdk-6.1.0
2) liferay-portal-6.1.1-ce-ga2
3) Juno eclipse with liferay plugins
4) Jdk 1.6_45
Let's start creating our first portlet.
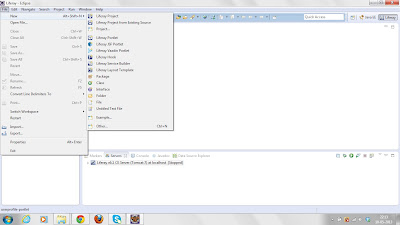
Go to File → New → Liferay Project
Next, go through the following steps to setup your new portlet:
Fill in the Project and Display names with my-firstdemo-portlet and My firstdemo, respectively.
Liferay adds automatically "-portlet" at the end of the project name.
If Liferay Plugins SDK is not configured, click "configure" link and give the path of the downloaded "liferay plugin sdk".
Same if "Liferay Portal Runtime" is not configured, click "New" button and give path of the "liferay-portal-6.1.1" bundle.
Select Liferay v6.1 CE(Tomcat 7) for the server run time enviornment.
Click finish.
Now you can see the directory structure of the project. As project is created "Build Successful" message can be seen.
Now our first default application has been created and ready to run on server. To run this project, right click on the project and select server to deploy the application.
Liferay server has already been selected and click finish button.
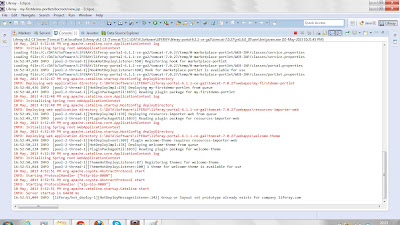
You can see the log on console of the eclipse.
Server is running on the "http://localhost:8080/" address.
login with the default Email Address and the password.
Email Address - test@liferay.com
Password - test
Click on the "Add" button on the left top.
Now our portlet can be seen under "Sample tag" with the name of the "My Firstdemo". Select this and click on add next to it. This portlet will be added in the main page.
In the last image our portlet has been added.
A search portlet is already added in this page.
Congratulations!! we have successfully created and deployed our first portlet.


No comments:
Post a Comment